Also known as "watch me as I try to not make a massive mess in my apartment." Enjoy a sneak peak into my process as I print some tea towels for my
Etsy shop in my tiny spare room aka The Sweatshop!
First things first - I need to have some strong coffee and some good tunes! On Sunday when I was printing I listened to a lovely mix of Twin Sister, Polica and Feist which I highly recommend.
The next thing I do is hand mix all of my colors. Good thing I eat yogurt almost every day so that I've got a pile of containers laying around! I printed a lot of towels so I had to mix a lot of ink. This is nothing, though, compared to people that print yards and yards of fabric. They use huge buckets and large mixers to mix their ink! I'm clearly small time. But I am careful to not mix too much because if I don't use it within a certain time period it gets moldy and smelly. Not. Good.

Drop by drop I add my pigment and equal drops of fixer until I get just the color I want. I then test the color on a scrap piece of the fabric I will be printing on to ensure it's the color I want. Since I've mixed black ink about 400 times over the past few months I've got the number down and don't waste my time testing....although I'm sometimes surprised that I can use the same amount of base + pigment and somehow my black looks way different. I just pretend it's some crazy magic!
Next, I tape up the edges of my screen and tape off my other image if I've got two on a screen. If I can, I put two images on my screen so I don't waste space and emulsion! Then I do a test print on my "test towels" to make sure I've got my measurements correct. What are my test towels, you ask? Oh you know...just those lovely towels where I f#*@ed up previously ;)
Depending on the type of image I'm printing it may take me
forever to measure and figure out where to lay down my towel in relation to my screen. It can easily take me ten times longer to measure than to actually print...this, my friends, is why I never pursued a career in engineering! Anyway, these two images are to be printed in the center of the towel...but they aren't in the center of the screen since I taped up one of the sections since I ended up not liking the original size of the image. Oy. This made the measurements more complicated. You live and you learn. This is also why it's so important to do a test print!
Once I put my ink down I flood the screen (not shown) before I do an actual print. This is a good way to ensure the ink will cover the print evenly when I finally print. At least I think that's why you do it!
So, I've done my test print and am happy with how everything looks. Now I'm ready to print on my linen! So exciting...but also so scary. Seriously. I always get nervous when I print because one wrong move and I've made a mistake and added to my growing pile of test towels!
Here I go!
And here's the finished print! Once the towels have sat for a few days to thoroughly dry I'll heat set them (AKA sit in front of the tv for an
entire day and iron) and then hem all four edges along with a hang tag. These towels really are a labor of love!
Another print!
Oh, and one part of my drying area!
I hope you enjoyed. Feel free to check out
Milkhaus Design on Etsy!

 Drop by drop I add my pigment and equal drops of fixer until I get just the color I want. I then test the color on a scrap piece of the fabric I will be printing on to ensure it's the color I want. Since I've mixed black ink about 400 times over the past few months I've got the number down and don't waste my time testing....although I'm sometimes surprised that I can use the same amount of base + pigment and somehow my black looks way different. I just pretend it's some crazy magic!
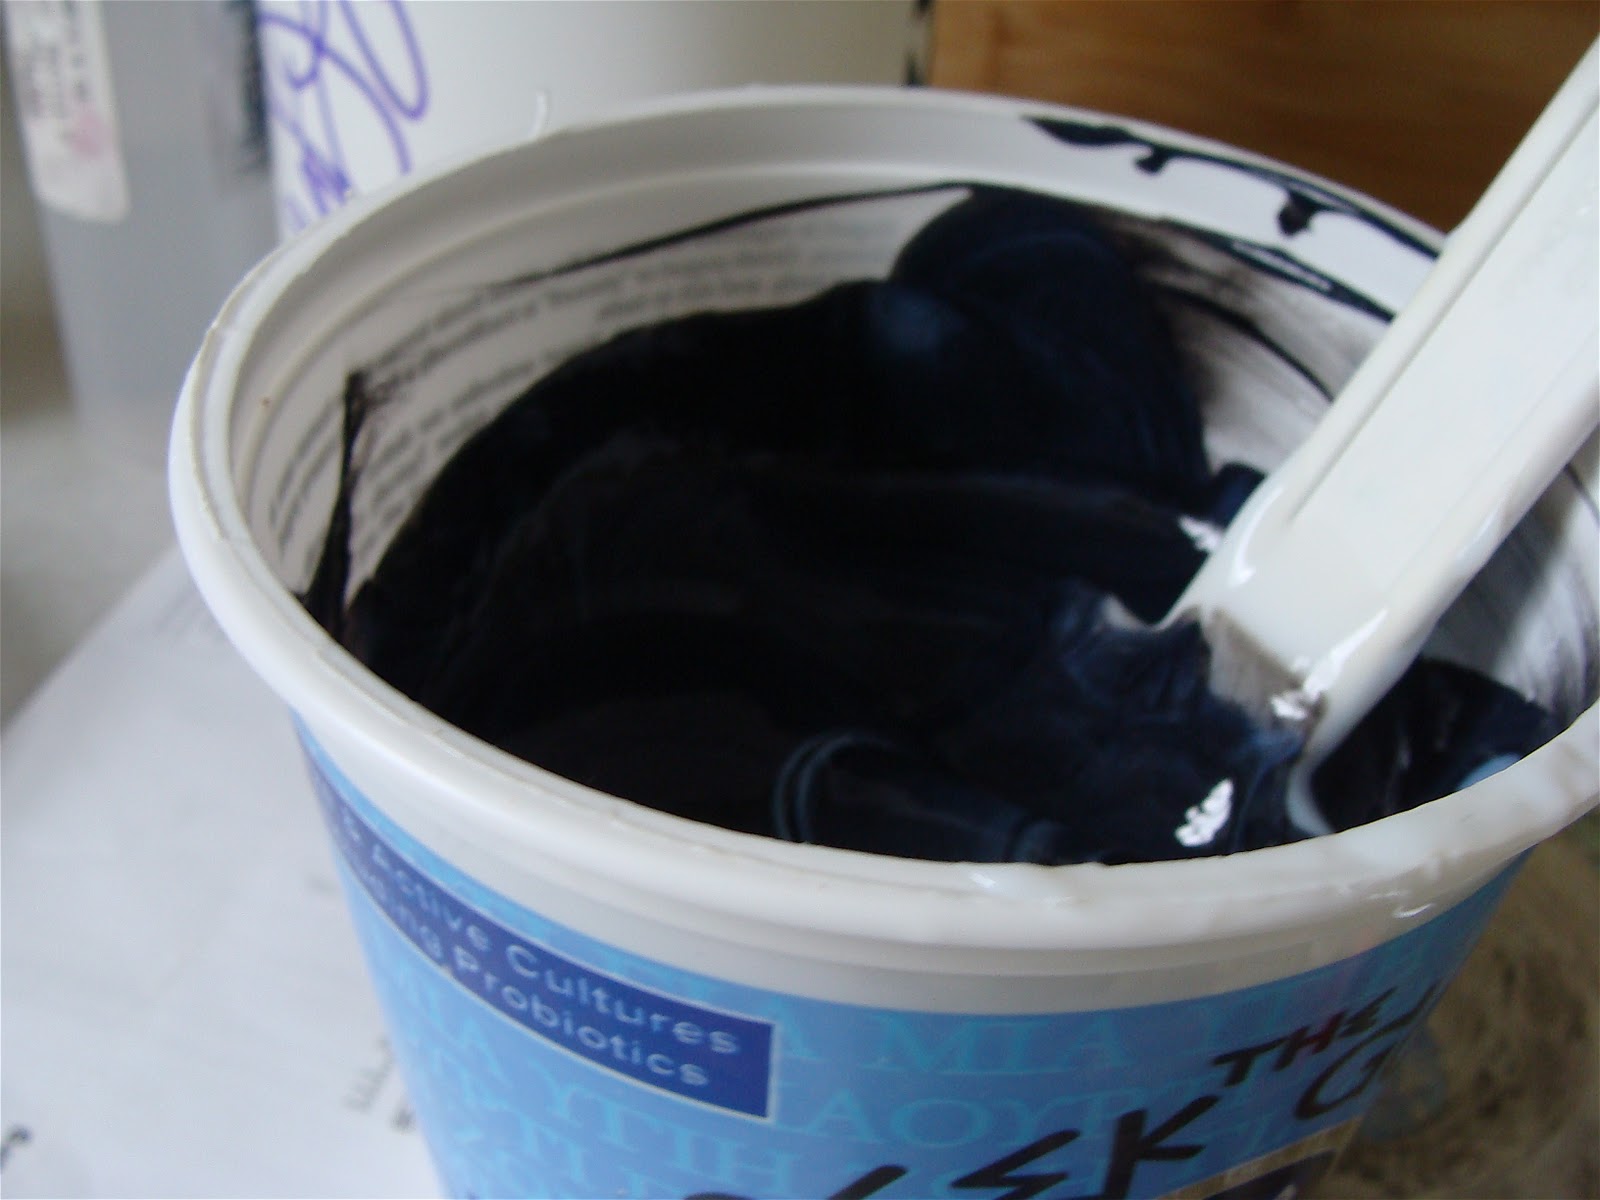


1 Comments:
Awesome! I love seeing your process. Nice work, Bethany! I'm glad to see I'm not the only one who utilizes ANY available place for drying! :-)
Post a Comment